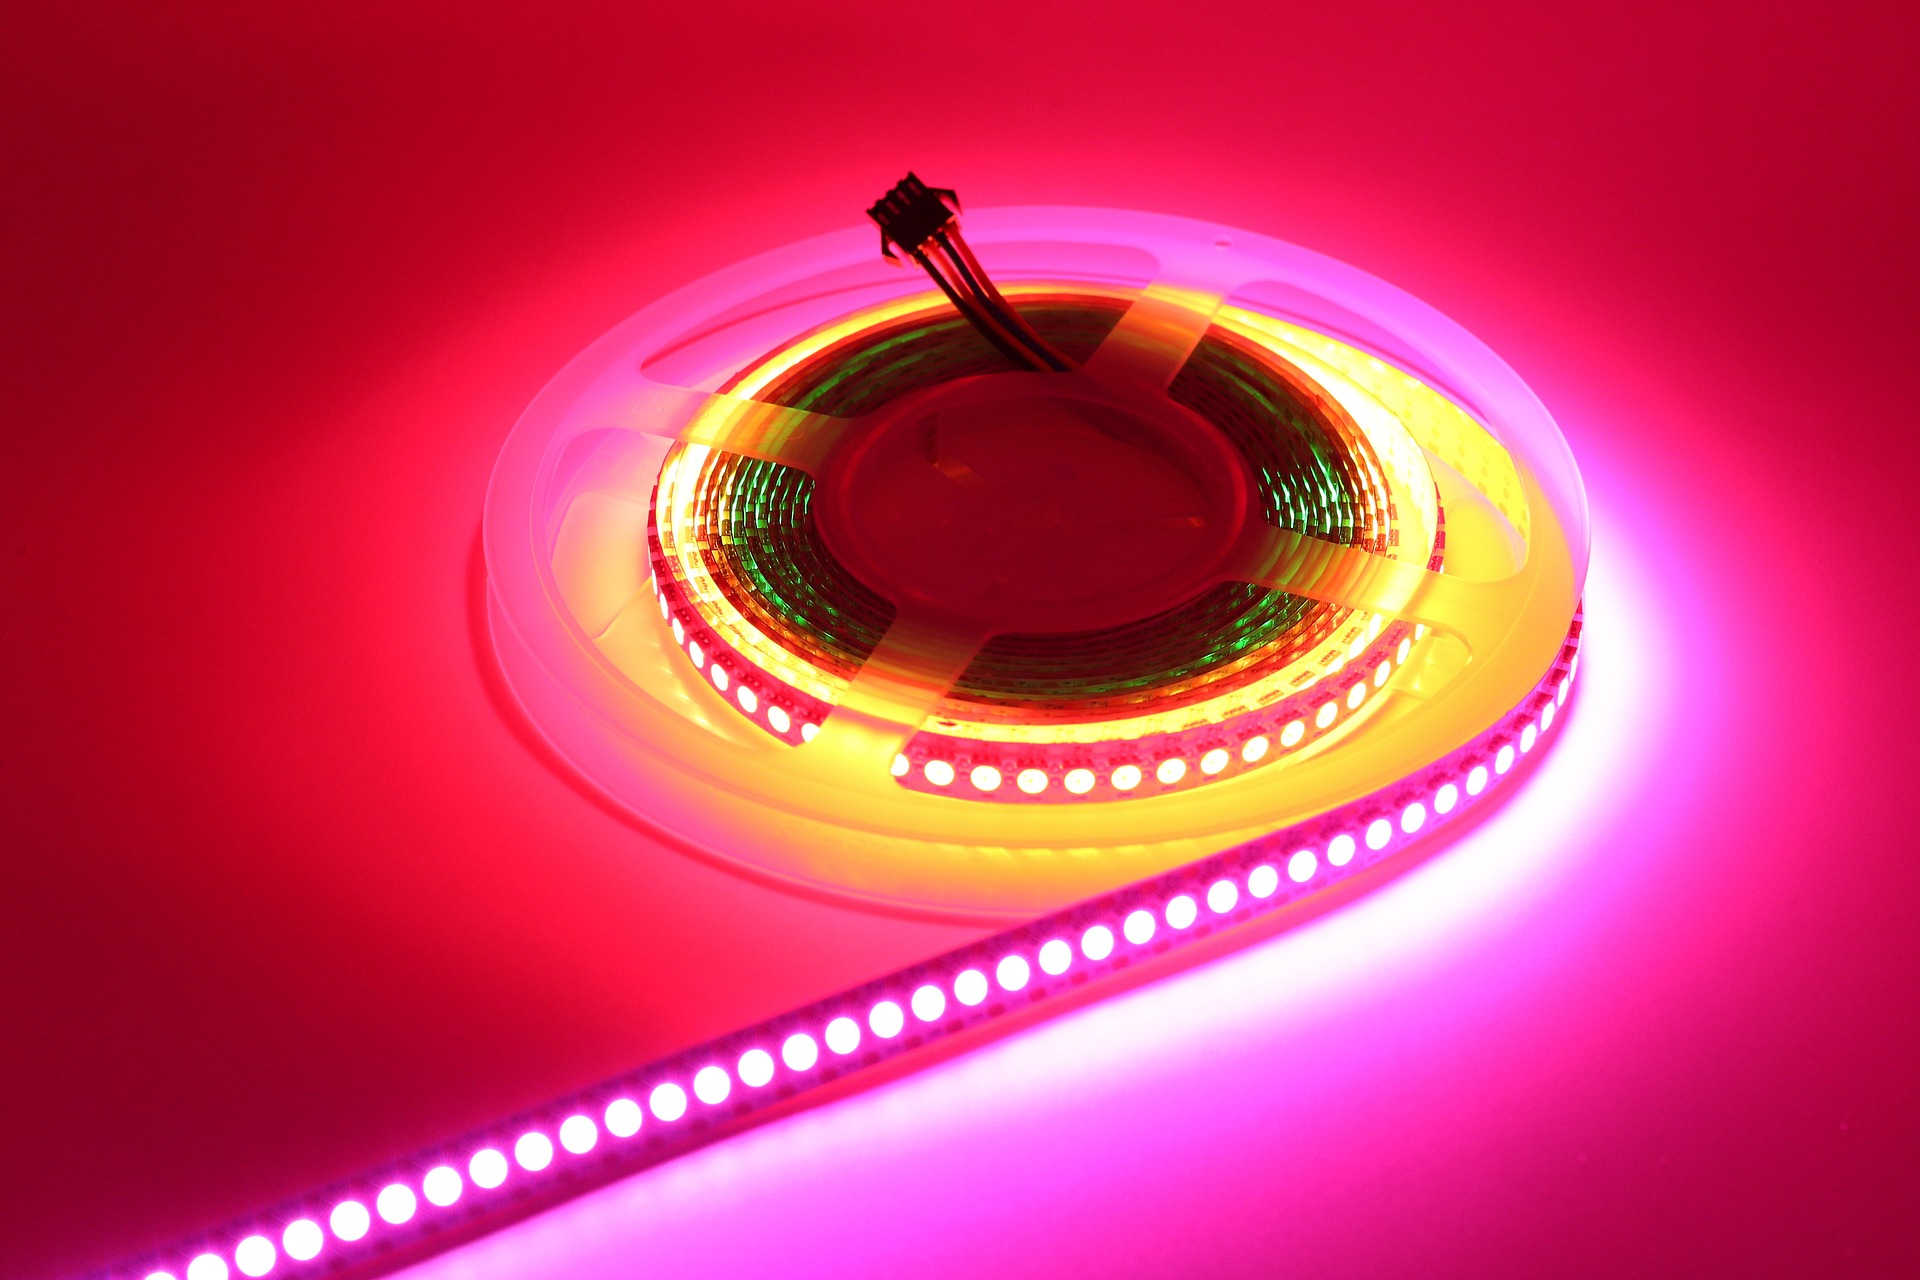
So, you know those colorful lights you see decorating all sorts of stuff like cars, rooms, and even costumes? Those are called LED strip lights. LED stands for Light Emitting Diode, which is a fancy way of saying “a tiny lightbulb”.
So, imagine taking a whole bunch of those tiny lightbulbs and sticking them really close together on a long, thin piece of plastic. That’s basically what LED strip lights are. The plastic is called a circuit board, and it has some special stuff on it that makes all the lights work together.
When you turn on the power, an electric current flows through the circuit board and lights up each LED one by one. That’s why you see a line of light, like a chain of tiny lightbulbs. You can cut the strip lights to any length you want, and bend them to fit in tight spaces. They’re super versatile!
Now, here’s where it gets really cool. Some LED strip lights can change colors! They have different colored LEDs built in, like red, green, and blue. When you mix those colors together, you can make all sorts of new colors, like purple, pink, or even white. That’s why they’re called RGB LED strip lights.
There are different types of LED strip lights you can choose from. Some can only produce one color, some can produce multiple colors and some can produce white light with different color temperatures.
And that’s the basics of how LED strip lights work! They’re simple but powerful, and they’re all around us making things look pretty.
How can you joint LED strip lights together?
Joining LED strip lights together is actually pretty simple. Since LED strip lights are flexible, you can bend them to fit into different spaces, but sometimes you might need a longer strip to fit a bigger area or you want to connect different sections of the strip light to create a larger light source.
There are a few ways to join LED strip lights together:
- Soldering: This is the most secure and reliable way to connect LED strip lights together. It involves using a soldering iron to melt a small amount of metal and join two wires together. This method is best for permanent installations, but it requires some technical know-how and specialized tools.
- Connectors: This is a quick and easy way to connect LED strip lights together, without needing any technical skills or special tools. You can buy connectors that clip onto the end of the strip lights and then connect to the next strip light. They are available in different types such as:
- L-shape connectors
- T-shape connectors
- Right angle connectors
- Extension cables: If you don’t want to cut and connect the strip lights, you can use an extension cable. This is a cable with a female and a male connector, which can be plugged into the strip light and the other end plugged into the next strip light.
- Splice connectors: These are small connectors that you can use to join two sections of the strip lights together. They have small clips on the sides that you use to hold the strips in place and then you can connect the wires.
It’s important to note that when connecting strip lights together, you should make sure the power supply is able to handle the total power consumption of all the strip lights connected together. You should also use the connectors or extensions that are compatible with the strip lights you have.
Back to Personal Narrative home.


